Showing posts with label knitting. Show all posts

Saturday, March 29, 2014

A little DIY six

Mum had this yarn, it's so soft, and she didn't know what to do with it, so I made her a couple of bracelets. They looked so kawaii that I called them "marshmallow bracelets".
Cast on 11 stitches.
1. Knit all
2. Purl all.
3. K1, C6f, K4.
(C6f = slip 3 sts on cable needle and leave in Front, knit 3, knit the 3 on cable needle).
4. Purl all.
5. Knit all.
6. Purl all.
7. K4, C6b, K1.
(C6b = slip 3 sts on cable needle and leave in the Back, knit 3, knit the 3 on cable needle).
8. Purl all.
Repeat rows 1-8 until desired length, sew ends together, weave in tails.


posted from Bloggeroid

Tuesday, March 25, 2014

A little DIY five

I knitted a beanie hat for bro. Consider this your birthday present, so happy waaaaaay early birthday, dear brother!!!
4 mm straight needles with #3 light yarn. The yarn label said it should be worked with 2 1/2 mm needles but I didn't think so, hehe.
Cast on 120 +1 stitches
I did a 3x3 rib for 4 cm and then I decreased 2 knit stiches and 2 purl stitches (K2tog, K1 and P2tog, P1)all the way through which left me with 81 stitches.
I knitted all for 16 cm and then I decreased on every knit row like this:
K2, K2tog. And the wrong side Purl all.
K2, K2tog. Purl.
K1, K2tog. Purl.
K1, K2tog. Purl.
K2tog. Purl
K2tog. Purl. This left me with 4 stitches, I finished by threading them with the tail with a tapestry needle and sewing the sides together. Weave in the ends.


posted from Bloggeroid

Monday, March 17, 2014

A little DIY four

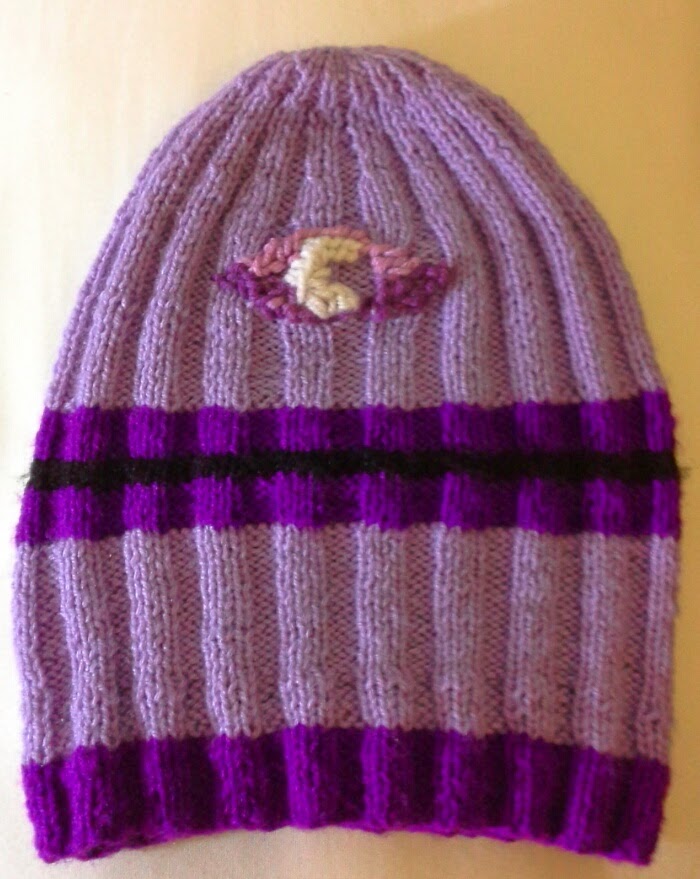
A Welcome to Night Vale beanie!

So I found out about the podcast (Welcome to Night Vale) and decided to give it a try, first episode over and I'm a fan, yeap, I got converted like all the rest, it must have been the power of the almighty glow cloud that reached through the interwebz ang grabbed me, or maybe the subliminal influence of the whispering forest, who knows (maybe the faceless old woman that secretly lives in my house knows), anyway, I decided to try my hand at making some kind of fangirl DIY project and this is the result.

I used 2.5 mm straight needles and the appropiate yarn for them in three main colors (light purple, dark purple and some black).
The gauge would be: 1 cm width = 2 sts, 1 cm height = 4 rows.
Long tail method to cast on 120 stitches, plus one knit stitch as border.
I worked a 3x3 ribbing for 15 cm changing the colors as I liked to make the stripes and leaving enough yarn in the different-color tails to sew the sides together at the end.
Here began the decreases:
The parenthesis stitches are supposed to be repeated all the way through the row.
(K3, P2tog, P1)... end with K1. And wrong side: P1, (K2, P3). This is 100 sts.
(K3, P2)... end with K1. And wrong side: P1, (K2, P3). Repeat these two rows.
(K2tog, K1, P2)... end with K1. And wrong side: P1, (K2, P2). This is 80 sts.
(K2, P2)... end with K1. And wrong side: P1, (K2, P2). Repeat these two rows.
(K2, P2tog)... end with K1. And wrong side: P1, (K1, P2). This is 60 sts.
(K2, P1)... end with K1. And wrong side: P1, (K1, P2). Repeat these two rows.
(K2tog, P1)... end with K1. And wrong side: P1, (K1, P1). This is 40 sts.
(K1, P1)... end with K1. And wrong side: P1, (K1, P1). Repeat these two rows.
(K2tog). And wrong side: Purl. This is 20 sts.
(K2tog). And wrong side: Purl. This will leave 10 sts.

Leave a long tail, pass through the remaining stitches, pull to make a tight circle. Sew sides together (with the corresponding color) and weave in the ends.

Now, to make the half moon/eye in the sky, I had some left over yarn in a slightly different hue of light and dark purple, and white yarn. I just picked a place and started weaving them around. The yarns were thicker so that's why it pops up, but I like the effect.

posted from Bloggeroid

Monday, February 10, 2014

A little DIY three.

I got some lightweight yarn the other day and decided to make myself some fingerless gloves following this great tutorial over on youtube:

Fingerless gloves - eyelet mock cable ribbing stitch

Here are Joanne's instructions (be sure to thank her if you make them!): 
 www.joannesweb.com

Size 4.5mm needles. Worsted yarn (#4) Cast on 41 sts.

Ribbing:
Row 1.- *p2, k3*...end with p1
Row 2.- k1 *p3, k2* end with k2
Repeat 6 times. 12 rows in total


Stitch: Eyelet Mock Cable Ribbing:
Row 1.-*p2, Slip as if to knit, knit 2, pass the one you sliped over these 2 knits* end with p1.
Row 2.- k1 *purl 1, yarn over needle, purl 1, knit 2* end with k2.
Row 3.- *p2, k3* end with p1.
Row 4.- k1 *p3,k2* end with k2
Repeat these 4 rows 11 times.


Sew from bottom (beginning of ribbing) until 5 repetitions of the stitch. Leave 2 repetitions of the stitch without sewing. Sew from top to bottom 4 repetitions of the stitch. Note. #1 is the Right Side.

I changed it a little bit to fit my hands and sewed two little triangles over the thumbs to make it cozier, they turned out awesome!

What I changed:
  • Instead of 41 stitches I cast on 46 sts, why? because the yarn I used was a tiny bit thinner than the one in the tutorial.
  • Instead of 11 repetitions of the cable design I did 9, why? because I wanted the cable design to be shorter so I could make a long top ribbing.
  • After the 9 repetitions I did Row 1 of the cable design once, why? because I wanted to make it look like the last "circle" was finished. This reduced the amount of stitches which suited me fine because:
  • I wanted to make the ribbing on my fingers (top ribbing) to fit tight around them. I had 29 stitches left, with which I did a 2x2 ribbing for 12 rows, that is:
Row 1 = *P2, K2*, end with P1.
Row 2 = K1, *P2, K2*, end with K2.
Repeat these two rows 6 times.

Now, because I changed the amount of cable repetitions I had to measure my hands to figure out until where I had to sew together in order to leave the thumb opening where it should be.


posted from Bloggeroid

Monday, January 27, 2014

A little DIY 2

I found this really cool blue/purple colored yarn and made myself an infinity scarf. Seed stitch with a border, in my mind it looks like blueberries so that's what I'm calling it, "the blueberry scarf" XD.


Cast on in multiples of 2 (add 6 stitches for both edges).

I cast on 3 stitches (border) + 20 + 3 more stitches (border), so 20+6, 26 sts in total. I used two skeins, which gave me enough length to wrap the scarf twice over my neck.

100 gr. yarn, 6.5 mm needles.

Row 1:  K2, P1, *K1, P1... end with K1, P1 and slip the last stitch as if to purl.
Row 2:  K2, P1, *P1, K1... end with K1, P1 and slip the last stitch as if to purl.
Repeat rows 1 and 2 until desired length. Bind off following the pattern. Sew ends together.

Pretty easy, right?